Skip to main content
Search
Search This Blog
George Dent - Model Maker
A Model Maker's Diary
Pages
BLOG
AIRBRUSH TRAINING
BOOKS
MODEL RAIL MAGAZINE
DVD
WHO IS GD?
More…
Posts
Showing posts from 2011
Show All
December 23, 2011
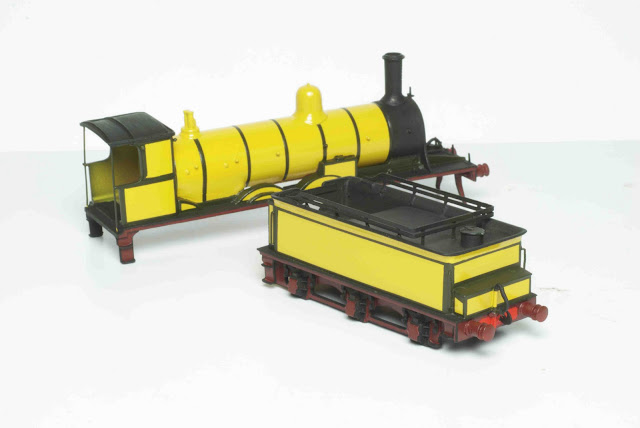
JONES GOODS UPDATE 2
December 23, 2011
A SORT OF CHRISTMAS SHOPPING
December 21, 2011
JONES GOODS UPDATE
December 20, 2011
FROM THE ARCHIVES 2
December 19, 2011
TEAK PERFECTION?
December 18, 2011
SUNDAY AFTERNOONS WERE MADE FOR...
December 16, 2011
WINTER REACHES MAUDETOWN
December 15, 2011
PUTTYING IT TO THE TEST
December 13, 2011
SILVER BULLET, TAKE TWO
December 12, 2011
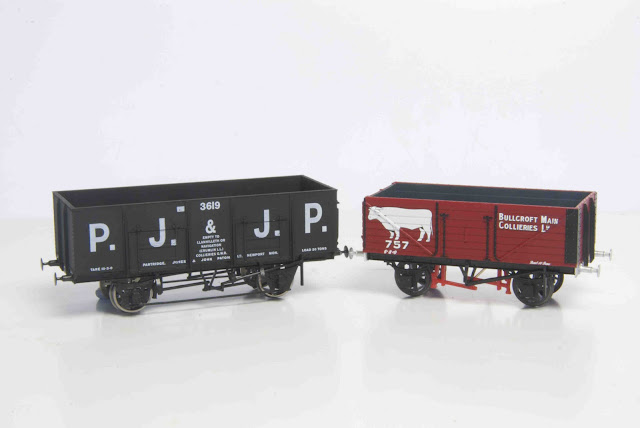
PRIVATE OWNER PROGRESS
December 10, 2011
BOLSTERING THE FLEET
December 07, 2011
TANK WEATHERING
December 05, 2011
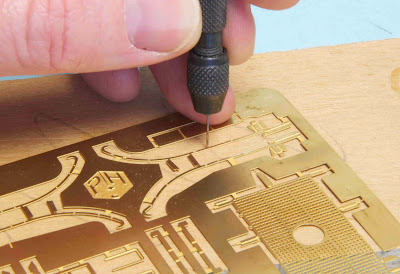
ETCHED BRASS & CHOICE WORDS
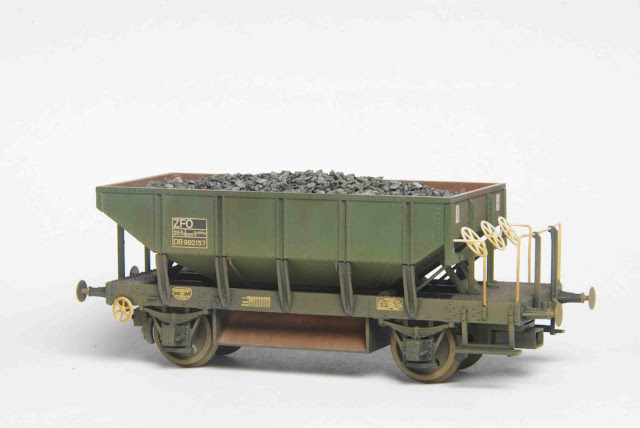
December 02, 2011
HORNBY TROUT HOPPERS (2)
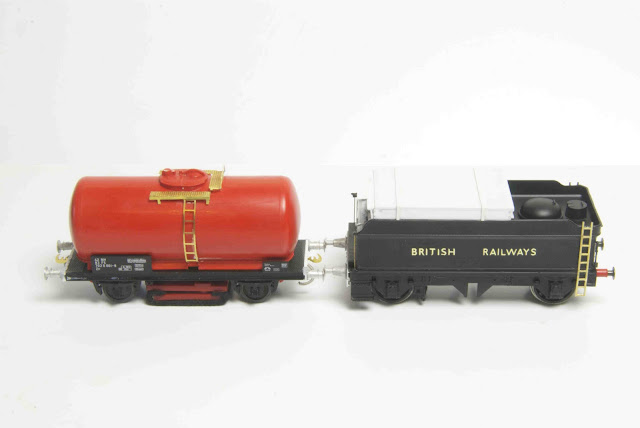
November 29, 2011
TANKED UP
November 28, 2011
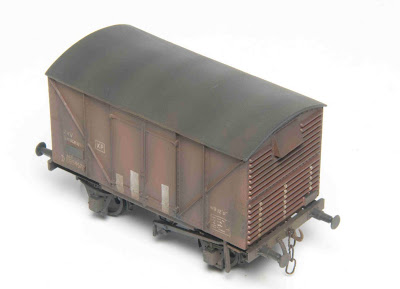
GWR MINK UPGRADED
November 27, 2011
REDISCOVERED MINK
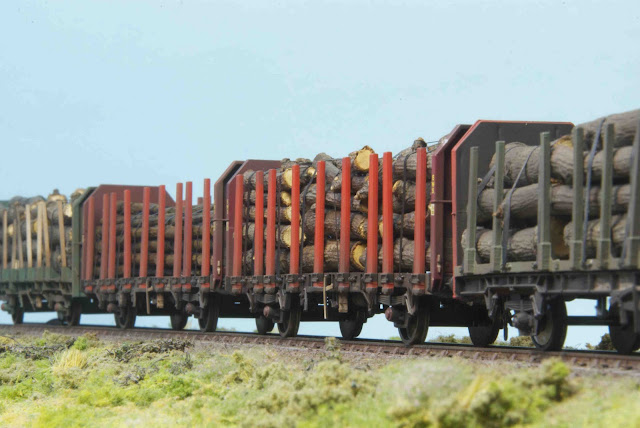
November 25, 2011
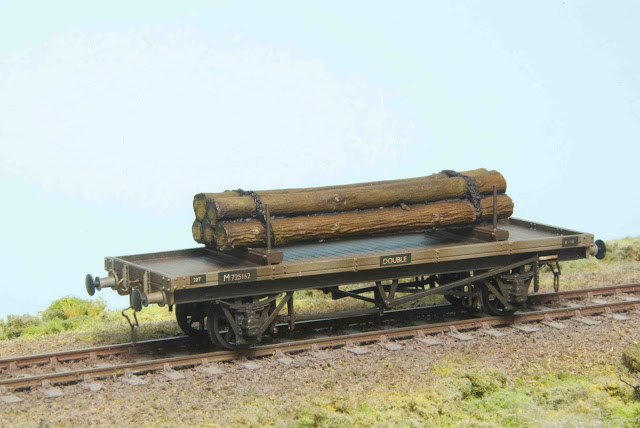
TIMBER!
November 24, 2011
LMS BOLSTER & GWR PROVENDER WAGONS
November 23, 2011
WATER CARRIERS
November 22, 2011
SHOCK-PROOF WAGON
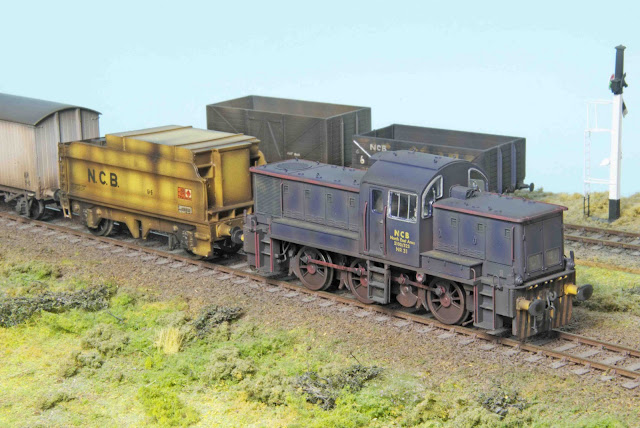
November 17, 2011
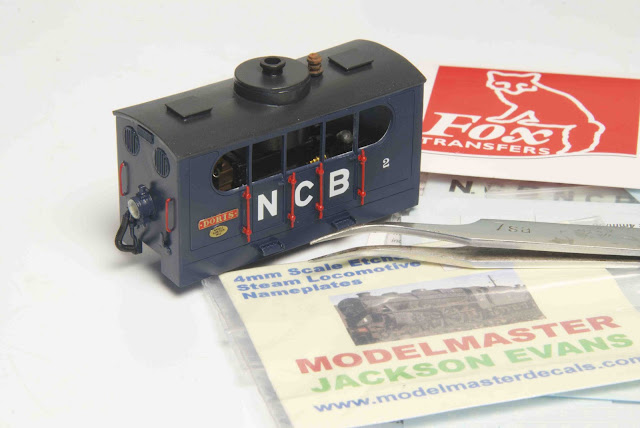
DORIS AND HER TRUCKS
November 16, 2011
DORIS EMERGES FROM THE PAINT SHOP
Newer Posts
Older Posts
Home